a perfect squidgy tart
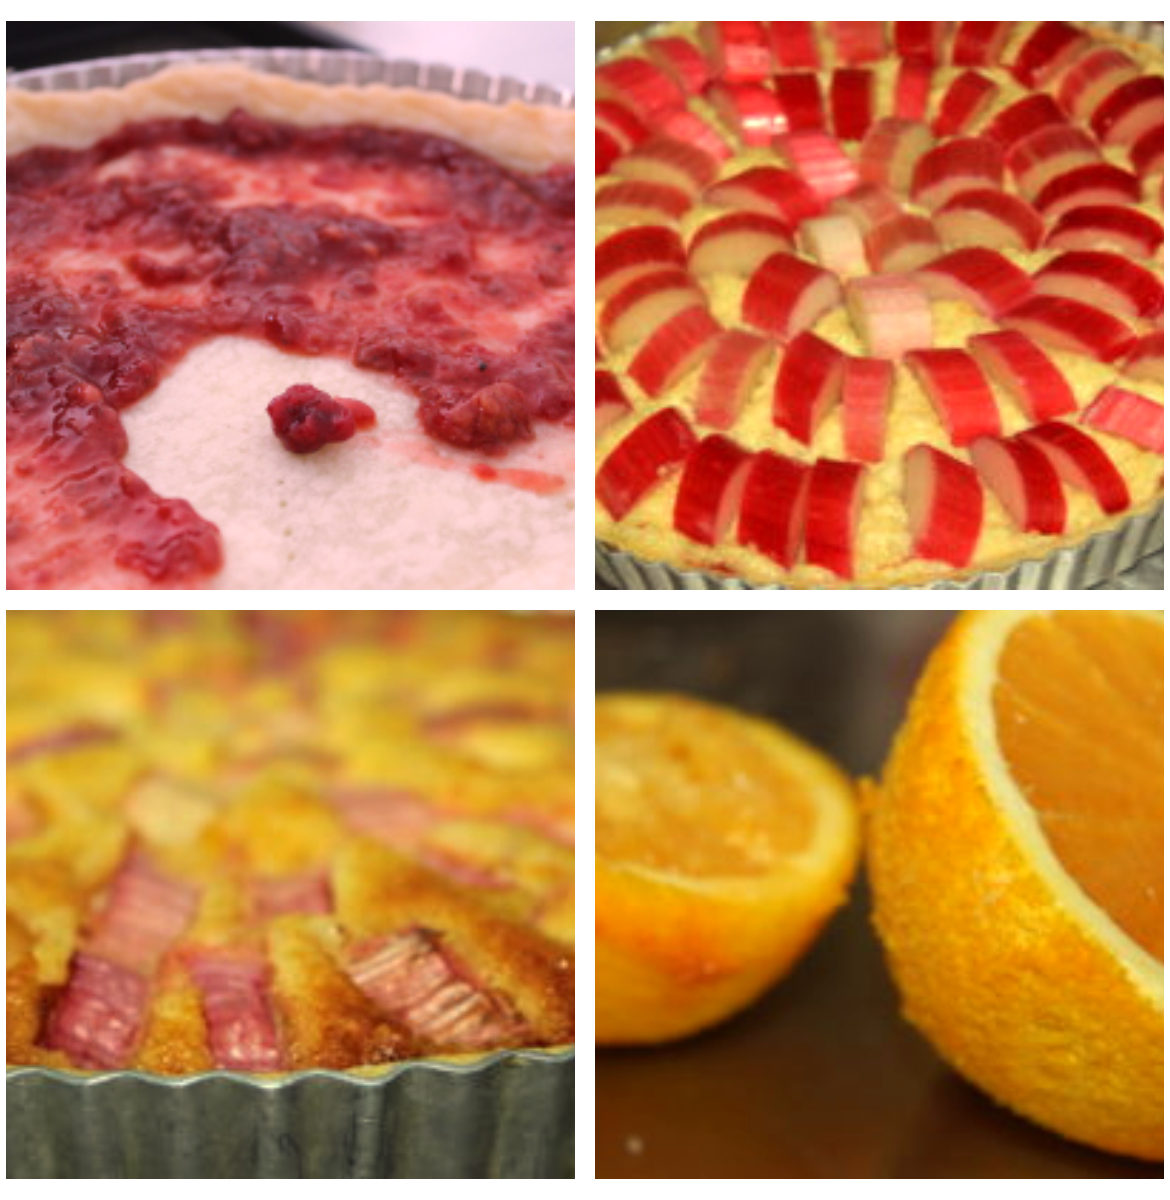
The filling is somewhere between a classic frangipane and a Torta de Santiago – robust, gutsy and happy to absorb slugs of alcohol. And that’s the kind of tart we like.

a perfect squidgy tart
The filling is somewhere between a classic frangipane and a Torta de Santiago – robust, gutsy and happy to absorb slugs of alcohol. And that’s the kind of tart we like.

Just to avoid confusion this is not about the wonderful effects cooking can have on people who are visually impaired nor is it about any kind of deviant “blindfold me in the kitchen” activities just in case you were wondering (and I know that you were). Blind Baking is a pastry making term that means the pastry shell is first baked (to ensure a crisp surround and to avoid any soggy bottoms) before the filling is added. Often, as in a quiche for example, the filling and the pastry case go back in the oven to be baked again. However as you fill the case pretty much to the brim the filling protects the case and it wont burn.
Roll your pastry (or press it into the tin with your fingers) until it is the thickness of a fairly chunky coin such as a 1 Euro. 2-3mm is what we want.

If rolling the pastry, leave the rolling pin in the middle of your pastry circle. Now lift the circle up from the top and fold it gently back over the rolling pin so you can now use your rolling pin as a “pastry transportation device”.
Lift the pastry up and let it touch the work surface closest to you before you un roll it across the pastry case.
Now, very gently and if you have long nails there is a little trick you can use, use up some left over dough in a little ball and use it to coax the pastry into the corner of the tin.

Now the pastry is fitting snug, roll the rolling pin over the whole thing which neatly lops off the pastry. using a fork make little holes in the pastry (important as it helps any steam vent and avoid bubbles)
Now scrunch up a piece of baking paper (the scrunching is important because it softens the paper and allows it to reach into the corner) and un scrunch it. Now use it to line the case and fill with your blind baking “beans”. These can be purpose made ceramic baking balls or rice or small real beans/lentils (which i quite like) or salt which makes for a great snug fit but if you spill it…your tart is ruined!


Now bake the case with the beans inside for 10-15 minutes – just until the pastry has “set” ie gone hard. Then remove the beans.
Paint the case on the inside with a beaten egg – this waterproofs the tart. Its not absolutely essential but will really make your tart base “crunch” and will make it easier to serve.
Bake again for 5 minutes and the tart is now ready to be used.

This is a classic French lemon tart, made using the “custard” rather than the “curd” method and as I like lemon and lavender combos I’ve added lavender – if its too floral for you don’t bother. This method relies on a “custard” mixture being baked in the oven in a pre baked pastry shell (a kind of sweet quiche idea) and is very easy. A “curd” version involves making a lemon curd which range in richness from a slightly lean classic English lemon meringue Pie recipe adding water and cornflour to a full on “Italian Crostata al Limone” egg yolks and egg affair which I tend to use as my default.
a few lavender flowers (approx 1 teaspoon) if using
A loose bottomed tin is what you need here. I know I’m not really pedantic about equipment and love to improvise but tarts really benefit from proper tins.
Whisk the eggs and sugar to ensure the sugar dissolves – you don’t really need a sloppy mousse here as its not the aim but the sugar does need to dissolve.
Add the zest, eggs and lemon juice to the egg and sugar mix.
Fill the pre-baked pastry case with the mix and carefully (it has a tendency to slop so sometimes I place the case on the oven shelf and using a jug I pour the mix in…depends how accident prone you are! or how wobbly your oven shelves are)

Now bake at 180C for 20-25 minutes. Its a bit like a baked cheesecake idea..you want it done but a little wobbly in the middle so that when you take it out of the oven, the cooking process continues and it will be just perfect.

After you take it out it will deflate a little, but only a little. Dust with icing sugar to disguise any wrinkles and it will look and taste divine!
