 We all love chocolate fondant pudding…the soft molten chocolate goo inside and the spongy crust provide for a great collision of taste sensations. Here I am using an eco friendly serving dish – the case of the orange itself which is also great if you dont happen to own ramekins or mini pudding tins. This also imbibes an extra orangey hit into the mix. I took the idea from a child’s cooking session where we baked orange cake in the shells and created this more adult version.
And now the dirty little secret…. no not that you can eat the batter direct from the bowl and never actually bother with making the puds…no something a little more prosaic… simply that you can cook these direct from frozen…hallelujah! and therefore they should be on your dinner party shortlist.
Ingredients (makes 12 halves)
- 2 oranges whole boiled for 1 hour starting with a level of water that almost covers them both – use up less than perfect oranges, make ahead and freeze them
- 6 oranges
- cocoa powder, for dusting
- 200g good-quality dark chocolate, chopped into small pieces
- 200g butter, in small pieces plus extra if you are using ramekins or expresso cups
- 200g sugar
- 4 eggs and 4 yolks
- 100g plain flour (note for a gluten free version use rice flour or corn flour)
- 50g good cocoa powder
Gadgets & Gizmos
An electric whisk/ food mixer with a whisk attachment – unless you have Popeye biceps its not really worth whisking with a hand whisk…well I think its not!
A blender to pulp your boiled oranges.
A cup cake tin is handy
How To
- If you are using orange halves no need to prepare your moulds just cut in half and use a citrus juicer to take out the juice. Now with your fingers or a teaspoon remove the pithy debris – what you want is orange halves free of the pith and segment membranes. It sounds worse than it is – its pretty easy! Cut a little of the orange away at each end so it will sit flat on a tray/ final serving plate. Place each empty half so it just rests on the cup cake hole.

- If using ceramic/metal little pots/ ramekins make sure what you are using is ovenproof – expresso cups work well if you dont have ramekins. First get your moulds ready by painting them with melted butter and then allow it to go solid. Now sprinkle with cocoa powder generously, tip upside down onto a plate to remove excess. This step seems fiddly…..and it is. But the cocoa powder allows the pudding to rise up gracefully and not stick to the sides of the moulds. Same thing applies to souffles.
- Cut your boiled oranges up roughly just to ensure you can take all the pips out. Blitz them up to a nice puree. It should smell like marmalade.
- Melt your chocolate and butter together in the microwave (carefully and checking the rotating plate is rotating so you don’t set fire to it like I did recently…beautiful chocolate reduced to smoke and ash…) or traditionally in a bowl over simmering water.
- In a separate bowl whisk the eggs and yolks together with the sugar until thick and pale and the whisk leaves a trail – if you havent got an electric whisk this is pretty daunting and I am not sure I would bother to be honest.
- Sift the flour and cocoa into the egg mixture. Pour in the orange puree. Fold very gently until incorporated taking care that the orange puree hasnt all sunk to the bottom.
- Pour the melted chocolate/butter into the orangey floury cocoay egg mixture in thirds, folding in ever so gently so as not to knock the air out. Again make sure the chocolate hasnt all accumulated at the bottom of your bowl.
- You can tip into a jug but I hate excess washing up – I use a ladle to put into the orange halves. Fill to the brim. At this point you can freeze them. If cooking immediately it is better to chill them a little beforehand but not essential.

- Heat oven to 180C and cook for 10-12 minutes until the tops have formed a crust and they are starting to come away from the sides of their moulds (this wont happen with the orange). If cooking from frozen add 6 minutes extra to the cooking time.
- Serve immediately!
I think they are great with some vanilla ice cream on top or actually just as they are.


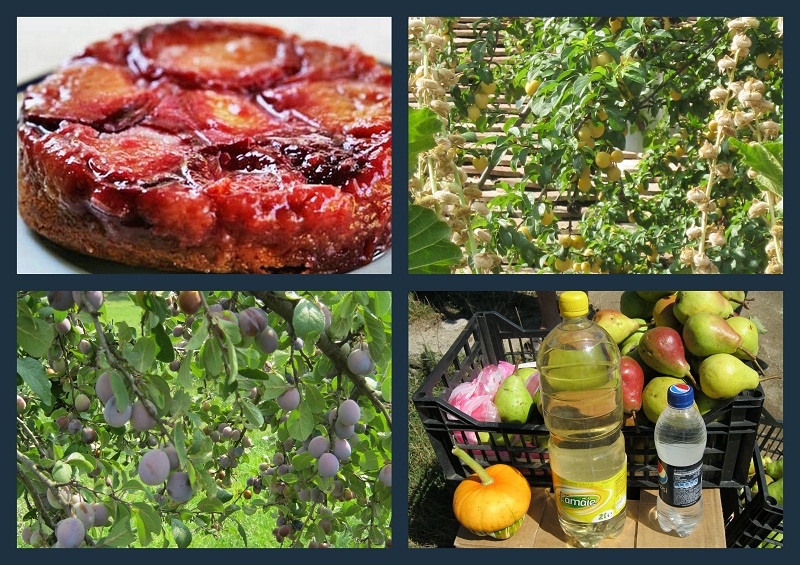
 A bit of tuica can leave one feeling a bit “upside down” but this cake makes upsidedowness a virtue. You can have your tuica and eat it indeed. (Tuica is a Romanian plum brandy)