Ultimate Cream Cheese Frosting

The icing on the cake indeed.
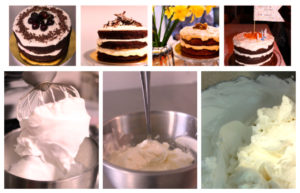
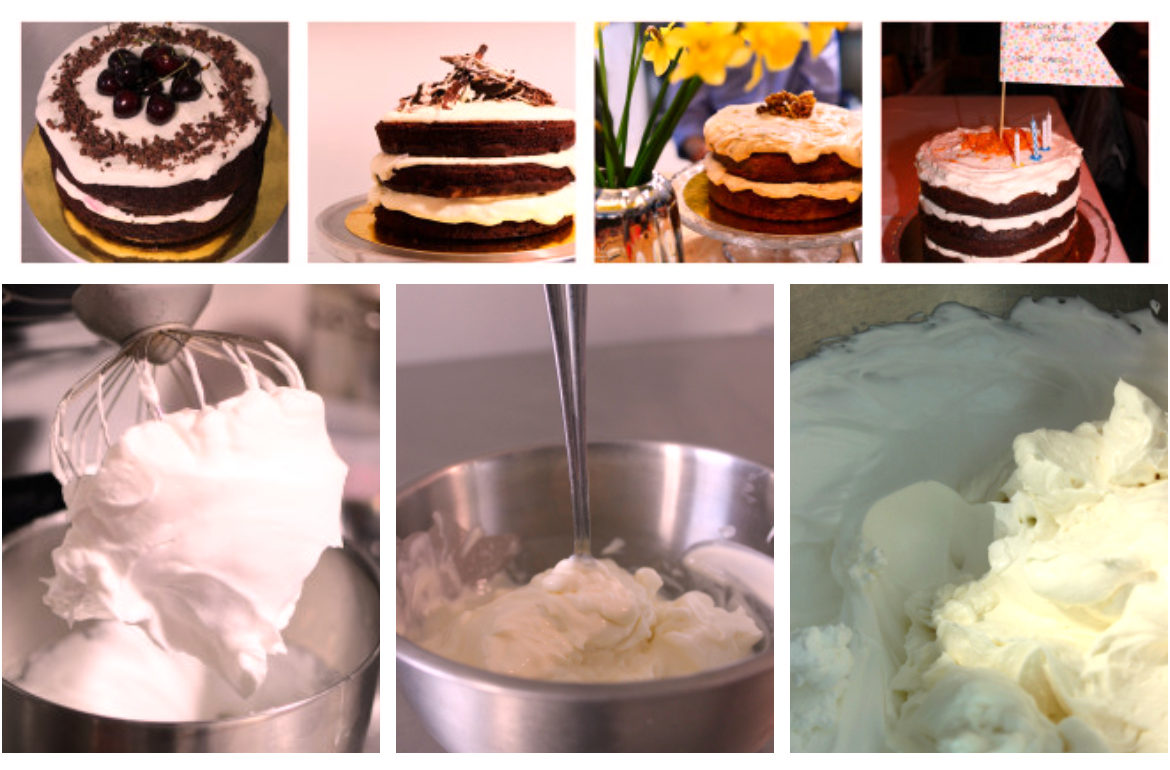
Not for nothing is this a much used idiom. Soft billowy pillows of frosting lying on beds of  moist sponge – this is the partnership that makes great cakes. This frosting works so wonderfully with (in the order as pictured) chocolate zucchini, chocolate & red wine, coffee, potato & walnut, carrot cake that its pretty much become my go-to frosting.

I was always frustrated with cream cheese frostings splitting and misbehaving on me and I find a classic frosting a little heavy. So I experimented and came up with this which is a meringue with cream cheese and mascarpone. The meringue locks in the cheeses thus preventing any weeping – and lets face it the less weeping in the kitchen the better – and adds a degree of airiness and lightness too.  For those concerned with egg safety an Italian meringue should be used ie one made with a hot sugar syrup that knocks out any bacterial nasties.

Gadgets & Gizmo

An electric whisk unless you are possessed of the biceps of an Olympic shot putter.

Ingredients

  • 200g sugar or 125g fructose
  • 4 egg whites
  • 1 tea spoon of vinegar or lemon juice (wipe the bowl and the whisk to be squeaky clean and grease free – dont skip this even if you don’t like the smell of vinegar…un puffed meringues are much worse)
  • 1 250g tup of mascarpone
  • 1 x 200-250g tub of cream cheese
  • 1tsp of good vanilla essence

How To

First make the meringue. I know that you should add the sugar in stages but I don’t. I sling it into the Kenwood with the egg whites after Ive done my vinegar cleaning thing and turn it on to max. Then I wait until the meringue turns shiny. That’s it. Be bold!

Loosely mix the mascarpone and cream cheese together so that there are no lumps and bumps. Sometimes I use a little hand whisk for this. add in the vanilla essence.

The key now is to not knock out any air. So we employ a little trick a la making a genoise…

Take some of the meringue (a generous couple of spoonfuls) and mix this gently with the cheese mixture thus creating a halfway house frosting. Because if you were to dollop in the cheese directly into the meringue the two would never amalgamate properly.

Now take the half way house frosting and tip that into the meringue and gently fold in, using a figure of eight motion, taking care not to knock out any air.

Now your frosting is ready to use…slather over cakes…sandwich between sponges…dip fruit into…freeze for the easiest ice cream ever.

Ideas & Improvs

Takes readily to a good quality coffee powder and becomes coffee frosting.  Some lemon or lime zest is magical too.

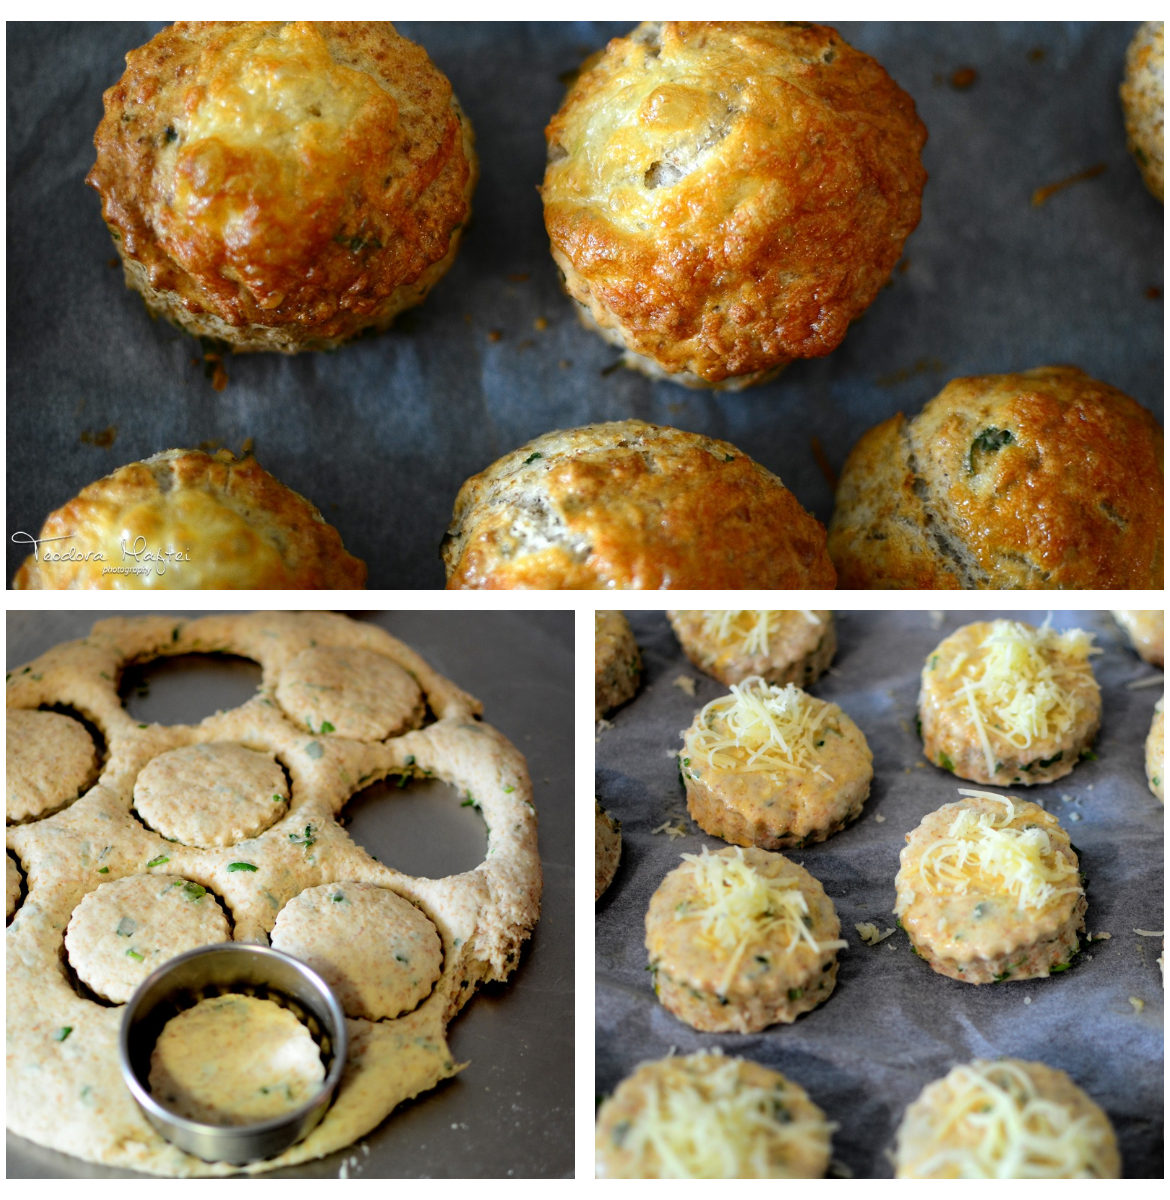
“Felicity Scones” – cheddar & fresh herb scones

pert and preppy

Scones are all about puff and fluff. So making them gently and making sure the mixture is soft enough and has enough baking powder is key. That’s why most recipes use buttermilk or sour milk because the baking powder reacts better and gives more oomph to the scone! They may look easy to make but good scones need a light touch.

They are the best stand by when you run out of bread options and need something fast.

Continue reading ““Felicity Scones” – cheddar & fresh herb scones”

Childsplay Cinnamon Oatmeal Cookies

a recipe to keep kids (and therefore parents) happy for hours and hours and hours…

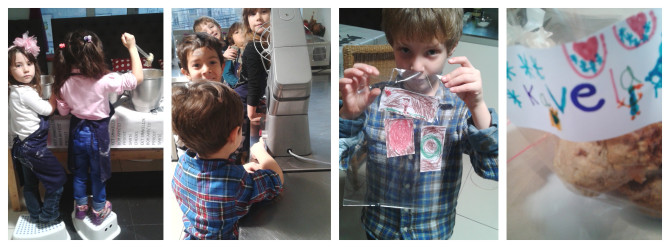
The cookies have a pretty high ratio of oats (good) and kind of (for they are cookies) lowish sugar.  If you are concerned about sugar I’ve suggested how to use substitutes and reduce it further.  They are all butter. Please don’t use margerine. The resulting dough should come out literally like “play doh” so that it can be handled without fingers getting too sticky.  You can put all kinds of things in it but half the fun is giving the kids bowls of raisins, chopped apricots, nuts (as long as no allergies) , chocolate chips, cranberries and all manner of things and letting them create their own shapes and recipes of cookies.  They can play like this for hours!

You can make them the old fashioned way with a wooden spoon, a mixing bowl and a lot of energy (preferably that of a young child ) or use a food processor / Kitchen Aid/ Kenwood which of course the kids love operating and teaching you how to use 😉

 Ingredients

hard to say how many cookies as depends on the size of the hearts, turtles, mountains, volcanoes, bridges and bats that are created…

  • Butter at room temperature 250g  (that makes “creaming” it with the sugar way easier and avoids tears)
  • Sugar 250g (brown organic sugar if you feel virtuous although dont be upset when your kid tells you the mixture looks dirty). You can use agave nectar but increase the flour to 250-275g.
  • 2 eggs  (be prepared to add a little milk should the mixture be too crumbly as maybe your eggs were small ones )
  • 1 teaspoon pure vanilla extract (not strictly necessary but great for kids to sniff real vanilla although sniffing habits to be discouraged in general of course. Vanilla sniffing is, as far as I know, safe. Try and avoid the synthetic stuff as its a derivative of the wood pulp industry – sniffing resin derivatives not quite so innocuous)
  • 200 grammes flour plus a bit extra for facial decoration and general messing around
  • 1 teaspoon baking powder (in Romania “praf de copt”)  and I dont add any extra salt
  • 1/2 teaspoon  or 1 teaspoon cinnamon powder
  • 360 grammes oats (in Romania “fulgi de ovaz”) – by volume this seems alarmingly high – fear not!

Other things you can add:  Chocolate chips or a bar of chocolate chopped up, raisins, sultanas, cranberries, nuts, chopped apricots, banana chips.   You can either add into the mixture or allow the kids to decorate and create their own cookies.  This can keep them occupied happily for a long time plus they also design lots of different things with the dough really creatively.

Gadgets & Gizmos

A powerful vacuum cleaner (just kidding!) You can make with a wooden spoon and bowl but kids do get bored a bit fast so if you are doing it the old fashioned way make sure the butter really is very soft. Cheat by microwaving it very very gently on defrost setting – that way you wont melt it into a puddle of oil.  Alternatively use a Kitchen Aid/ Kenwood or a food processor to wizz up the dough in no time at all.  Buy a roll of baking paper (“hartie de copt”) and if you dont own a great collection of baking trays then your oven should come with one if not two metal trays and ceramic dishes work pretty well too. Its not about the equipment anyhow!

Set the Oven to 180C

How To

Step 1 – Creaming the butter & sugar

Mix the butter and sugar together either with a wooden spoon or with the K beater of your Kitchen Aid.  What is key is that the butter “disappears” like in a magic trick 😉 and the result is a fluffy mix of butter and sugar. Now you should add the eggs next and then other ingredients but I add all the other ingredients together.

Step 2 – Add the rest of the Ingredients and mix gently and then mix faster

At first mix gently as you don’t want eggs slopping out of the bowl. When everything is incorporated you can mix faster/ turn p the speed so that the dough comes together in one big clunky lump.  However avoid the temptation to mix for a long time because you will develop the gluten in the flour and then your cookies will be tough. (tough cookies not good in this instance).

To create the cookies, dip your hands in flour and have some flour on the work surface. Roll little balls in your hand and flatten them gently on to the  baking paper that you have placed on your trays and dishes.

Step 3 – Cook for only 10 minutes until just golden.

They dont need longer.  Allow them to cool before handling because when they are hot they are not solid.

Go forth and create cookies!  Enjoy!